Voice Agent Onboarding
Overview
Collate's Voice Agent Onboarding Wizard lets you set up a fully functional AI patient coordinator in three steps. No technical expertise required — you can go from zero to a live AI receptionist in minutes.
The wizard walks you through providing your clinic information, building a knowledge base from your website and documents, and configuring your agent's personality and behavior.
Prerequisites
- An active Collate account
- Your clinic's website URL
- Your clinic's phone number
- (Optional) Additional documents such as procedure guides, insurance lists, or FAQs in PDF, DOCX, XLSX, or CSV format (up to 50 MB each)
Step 1: Clinic Information
The first step gathers essential details about your clinic so the voice agent knows who it is representing.
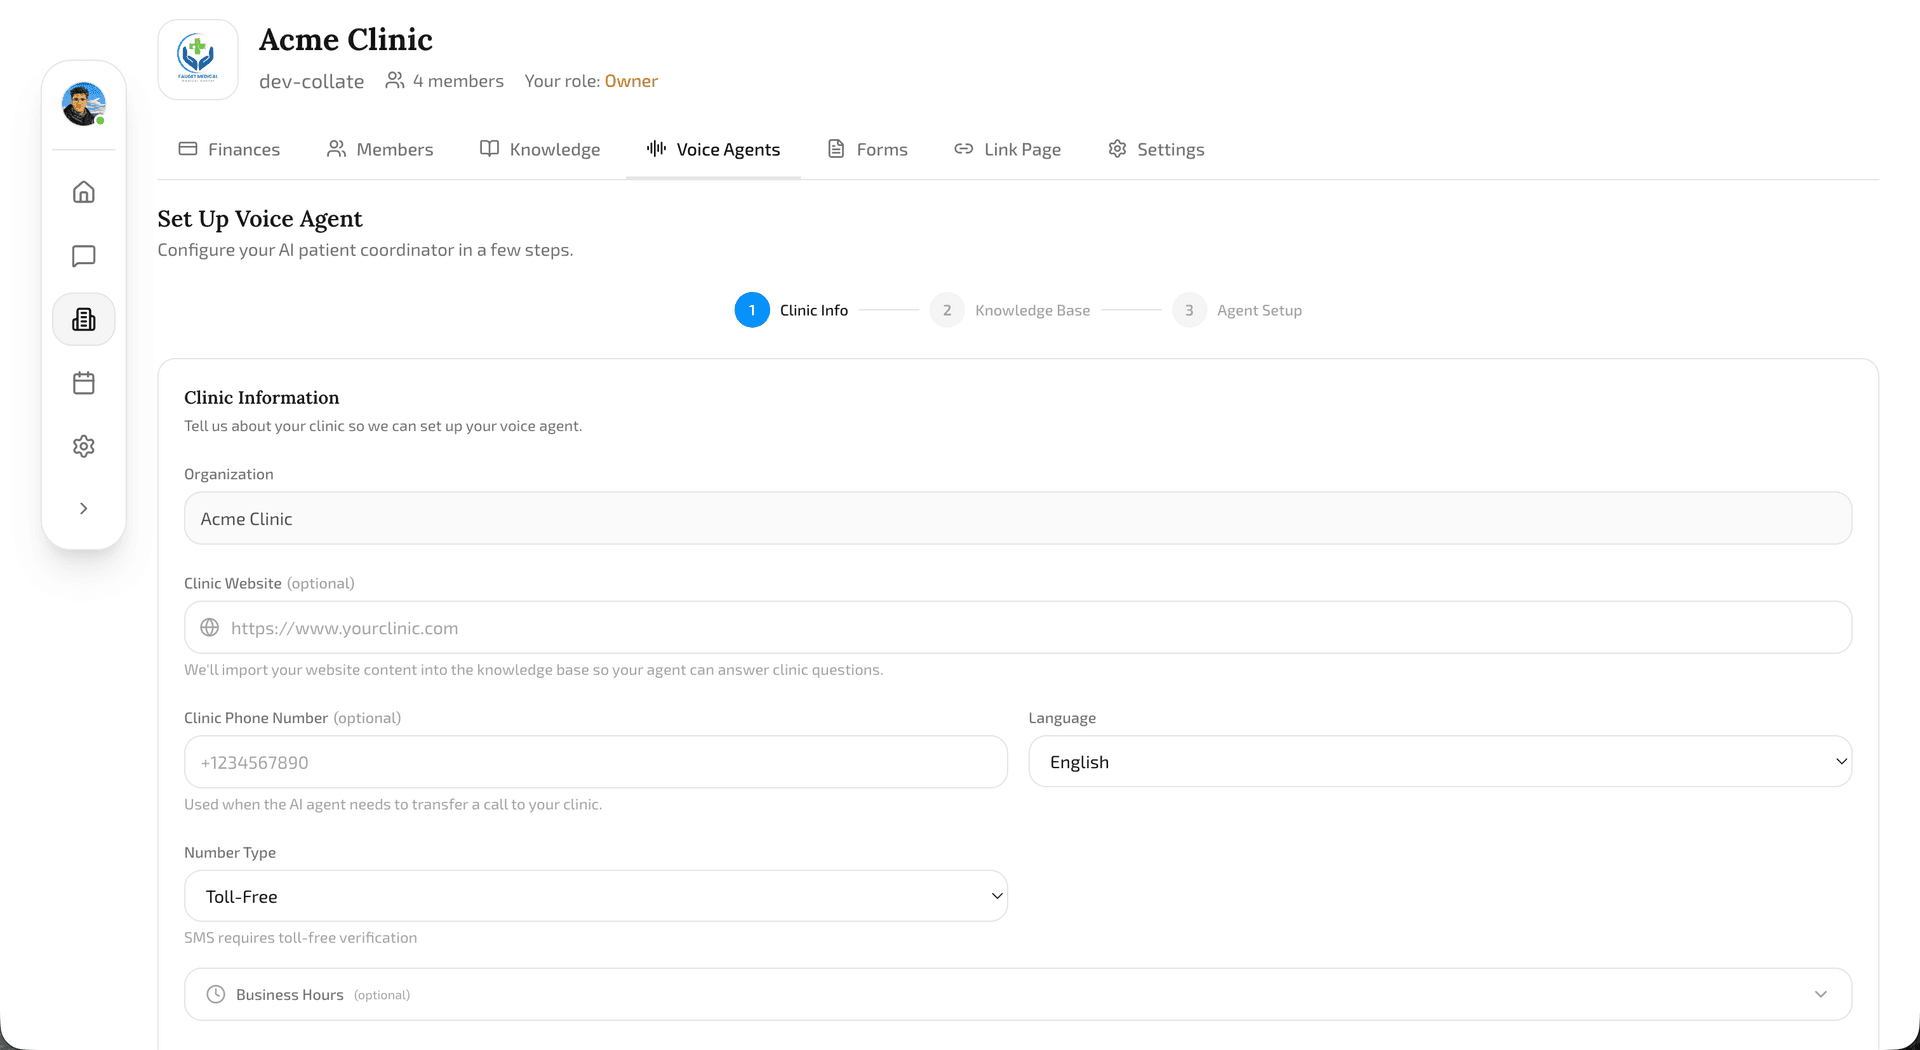
Website URL
Your clinic's website address. The wizard immediately begins scraping your site to extract information about your services, team, and procedures. This content feeds directly into your agent's knowledge base.
Phone Number
Your clinic's main phone number. Used to understand your existing setup and configure call routing.
Language
The primary language your agent should speak. The voice agent will conduct all conversations in this language.
Phone Number Type
Choose between a toll-free number (professional, nationwide presence) or a local number (personal, familiar to patients in your area).
Business Hours & Timezone
Define when your clinic is open. The voice agent tailors its responses accordingly — during business hours it can offer to transfer calls or schedule appointments in real time; outside business hours it switches to a different mode.
After-Hours Message
Customize what the agent says when patients call outside business hours. Options include collecting caller information, offering to schedule a callback, or letting patients know when the clinic reopens.
Step 2: Knowledge Base
A voice agent is only as good as the information it has access to. Step 2 builds the foundation of your agent's knowledge.
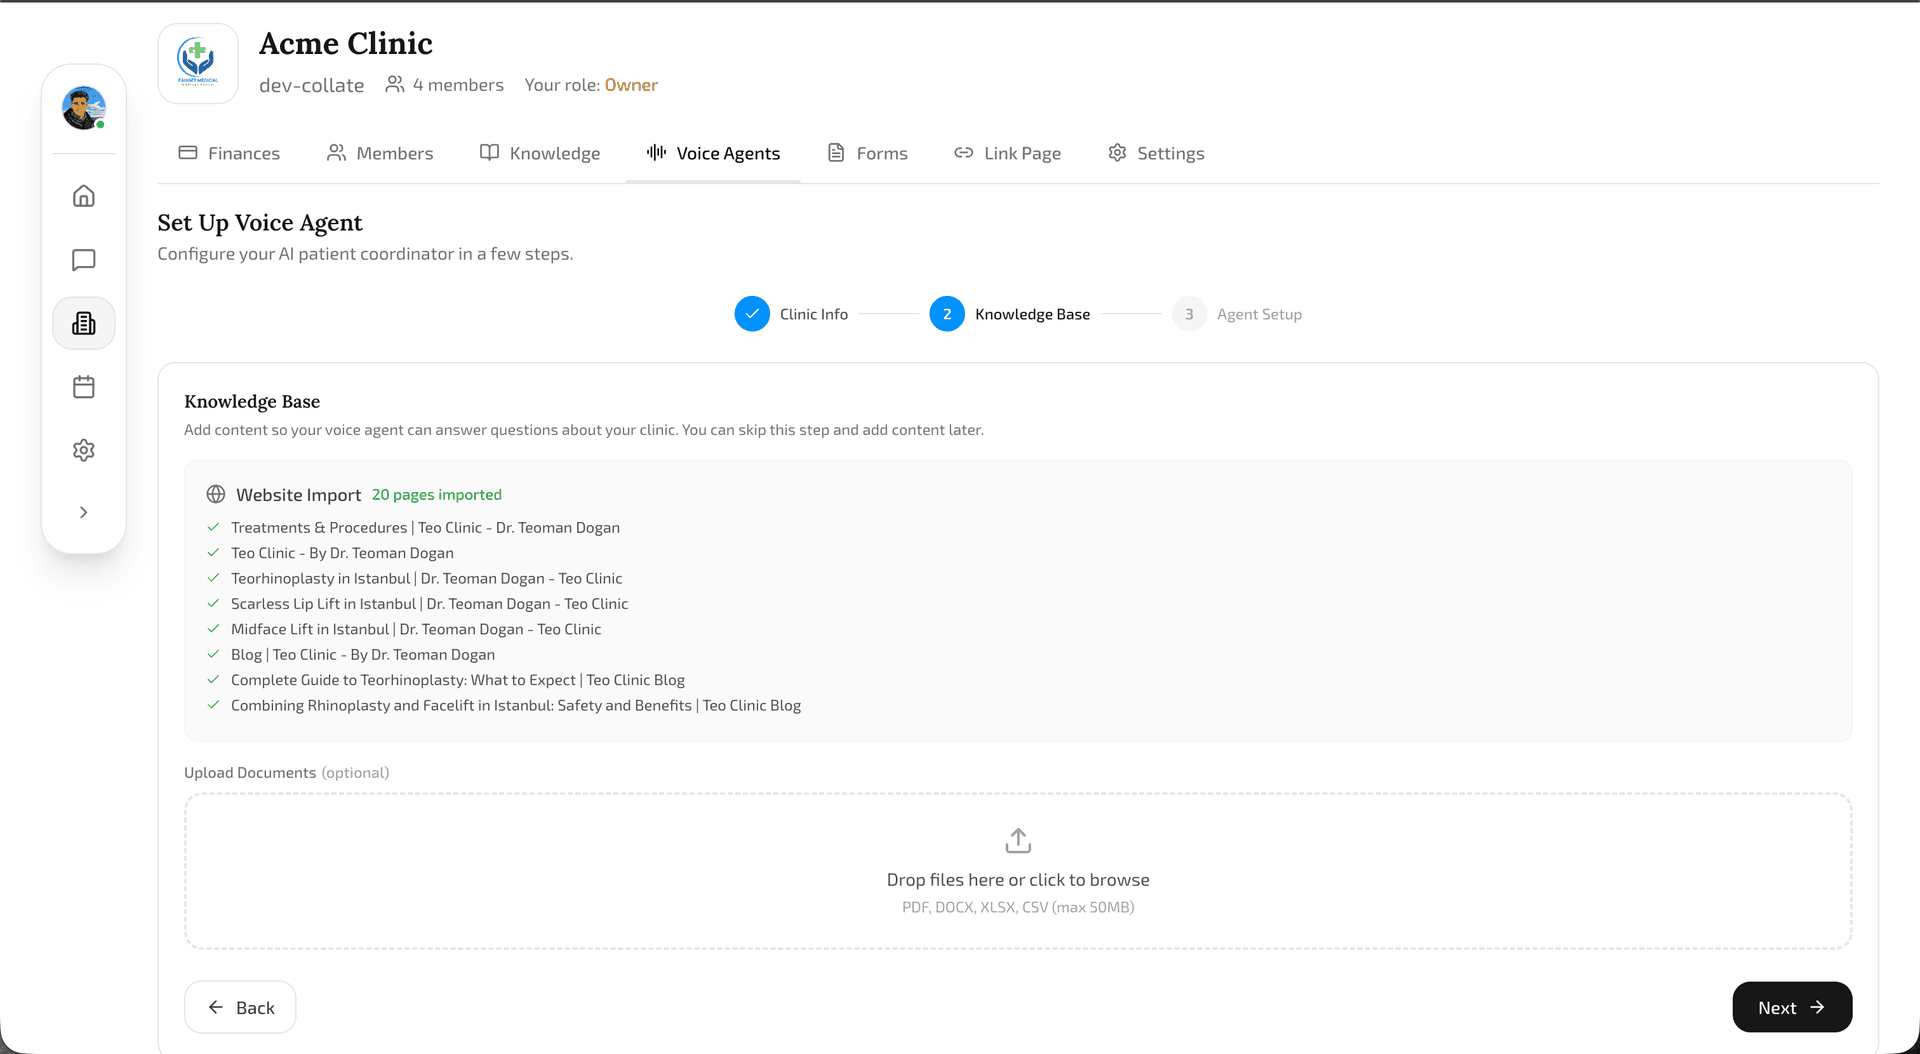
Website Auto-Import
The wizard crawls your site in the background (using the URL from Step 1) and extracts content covering services, pricing, team bios, FAQs, and anything else published on your site.
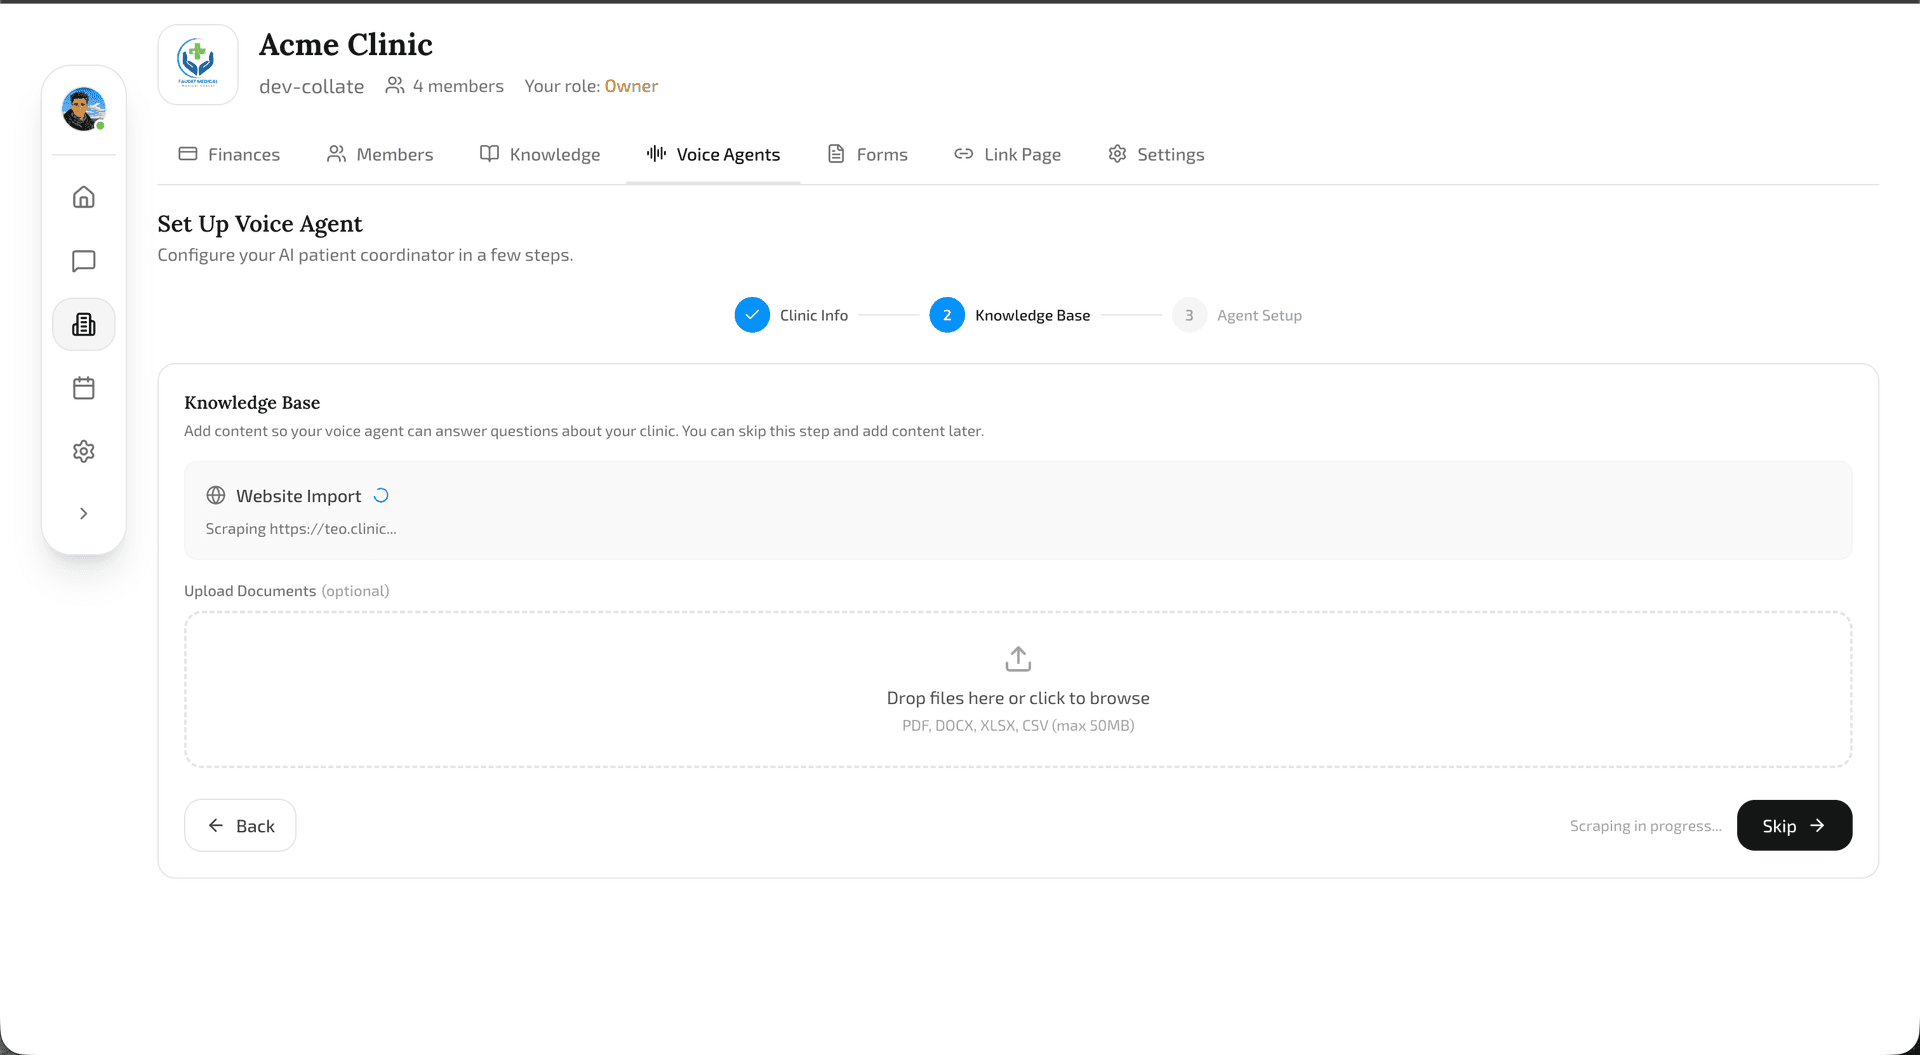
A progress indicator shows how many pages have been processed. This content becomes the primary source of truth for your voice agent.
Document Upload
Upload additional documents directly if you need the agent to know more than what is on your website. Accepted formats: PDF, DOCX, XLSX, and CSV (up to 50 MB each). This is useful for internal procedure guides, insurance policy lists, pre-operative instructions, or any other reference material.
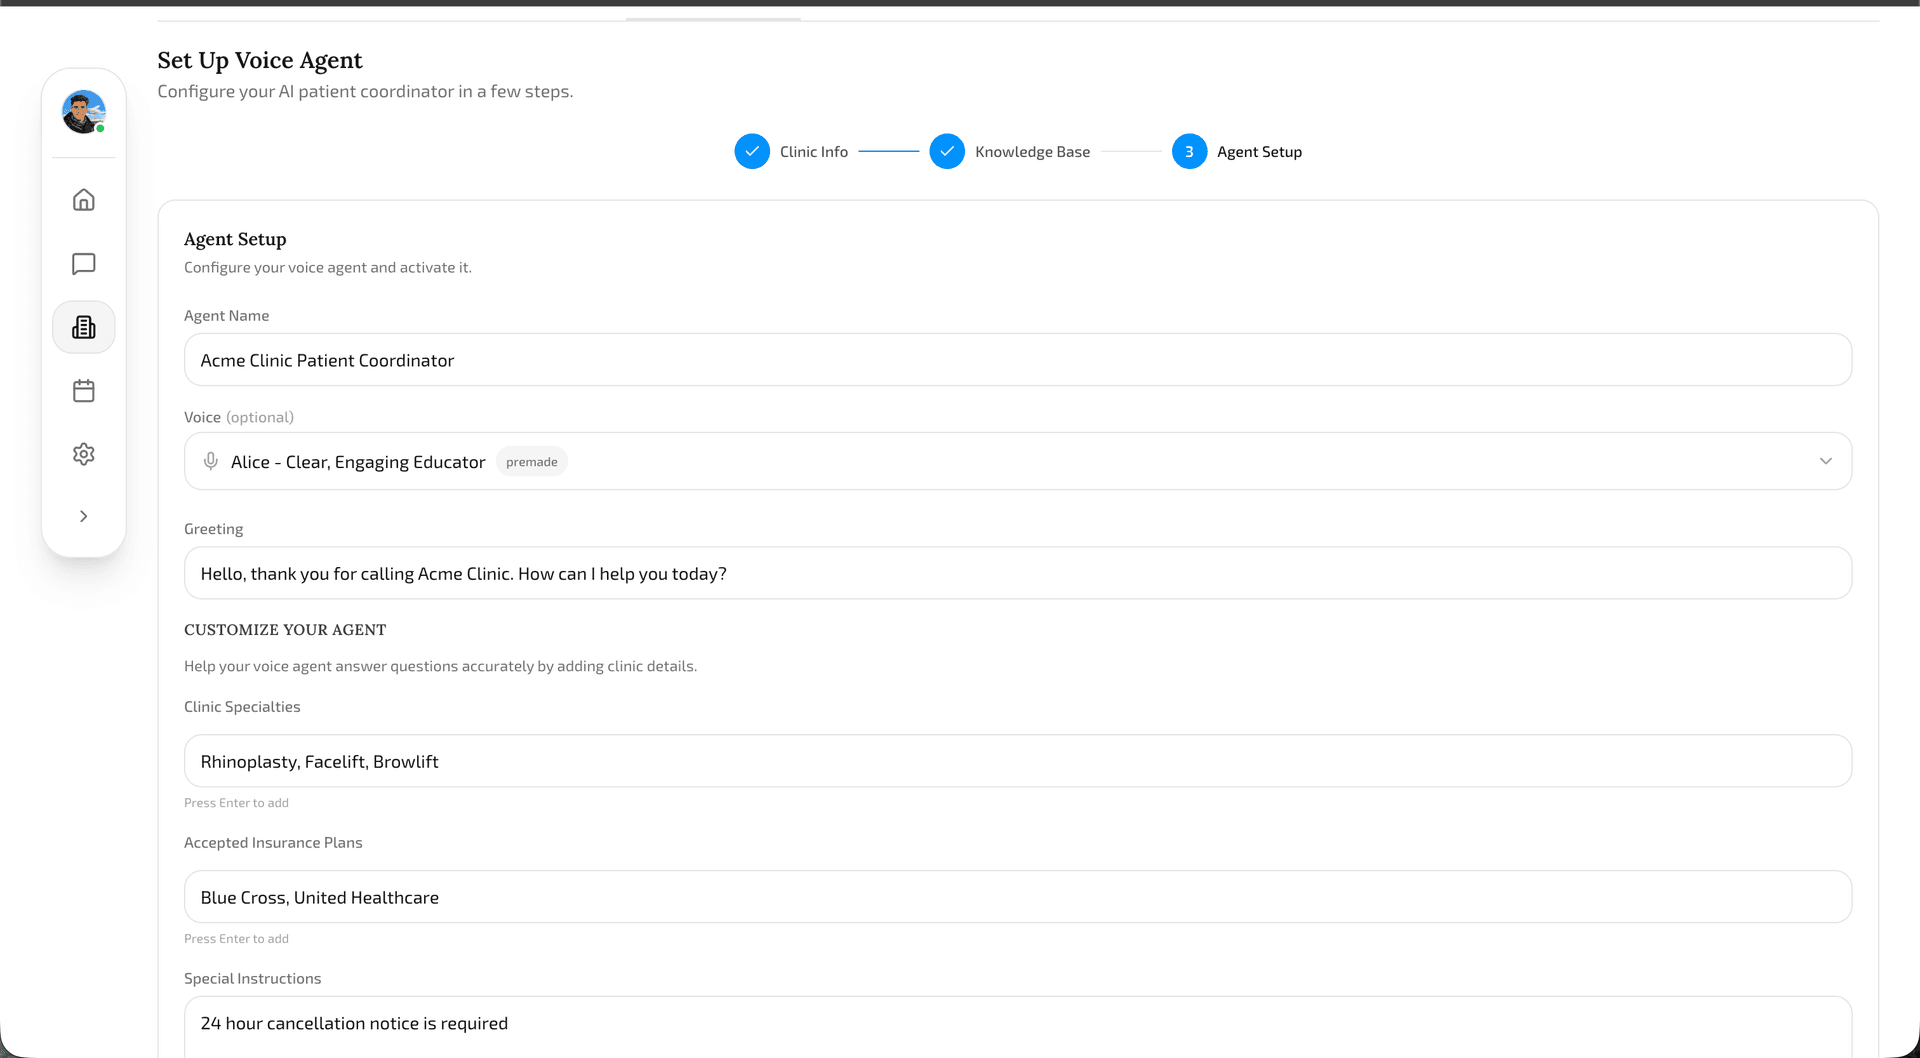
Step 3: Agent Setup
Step 3 is where your AI voice agent gets its personality and behavior.
Agent Name
How the agent introduces itself to callers. Pick something that fits your clinic's brand.
Voice Selection
Choose from a library of natural-sounding voices. Each voice has a preview so you can listen before deciding.
Greeting Message
The opening message delivered when answering a call. A good greeting is warm, identifies the clinic, and lets the caller know they are speaking with an AI assistant.
Guided Customization
The wizard walks you through additional configuration: clinic specialties, accepted insurance plans, and special instructions (emergency call handling, scheduling rules, etc.).
Before moving forward, you get a complete overview of your agent's configuration to review everything.
Activation
Once you have reviewed everything and clicked Activate, the wizard handles the entire technical setup behind the scenes.
A visual progress overlay shows you what is happening at each stage:
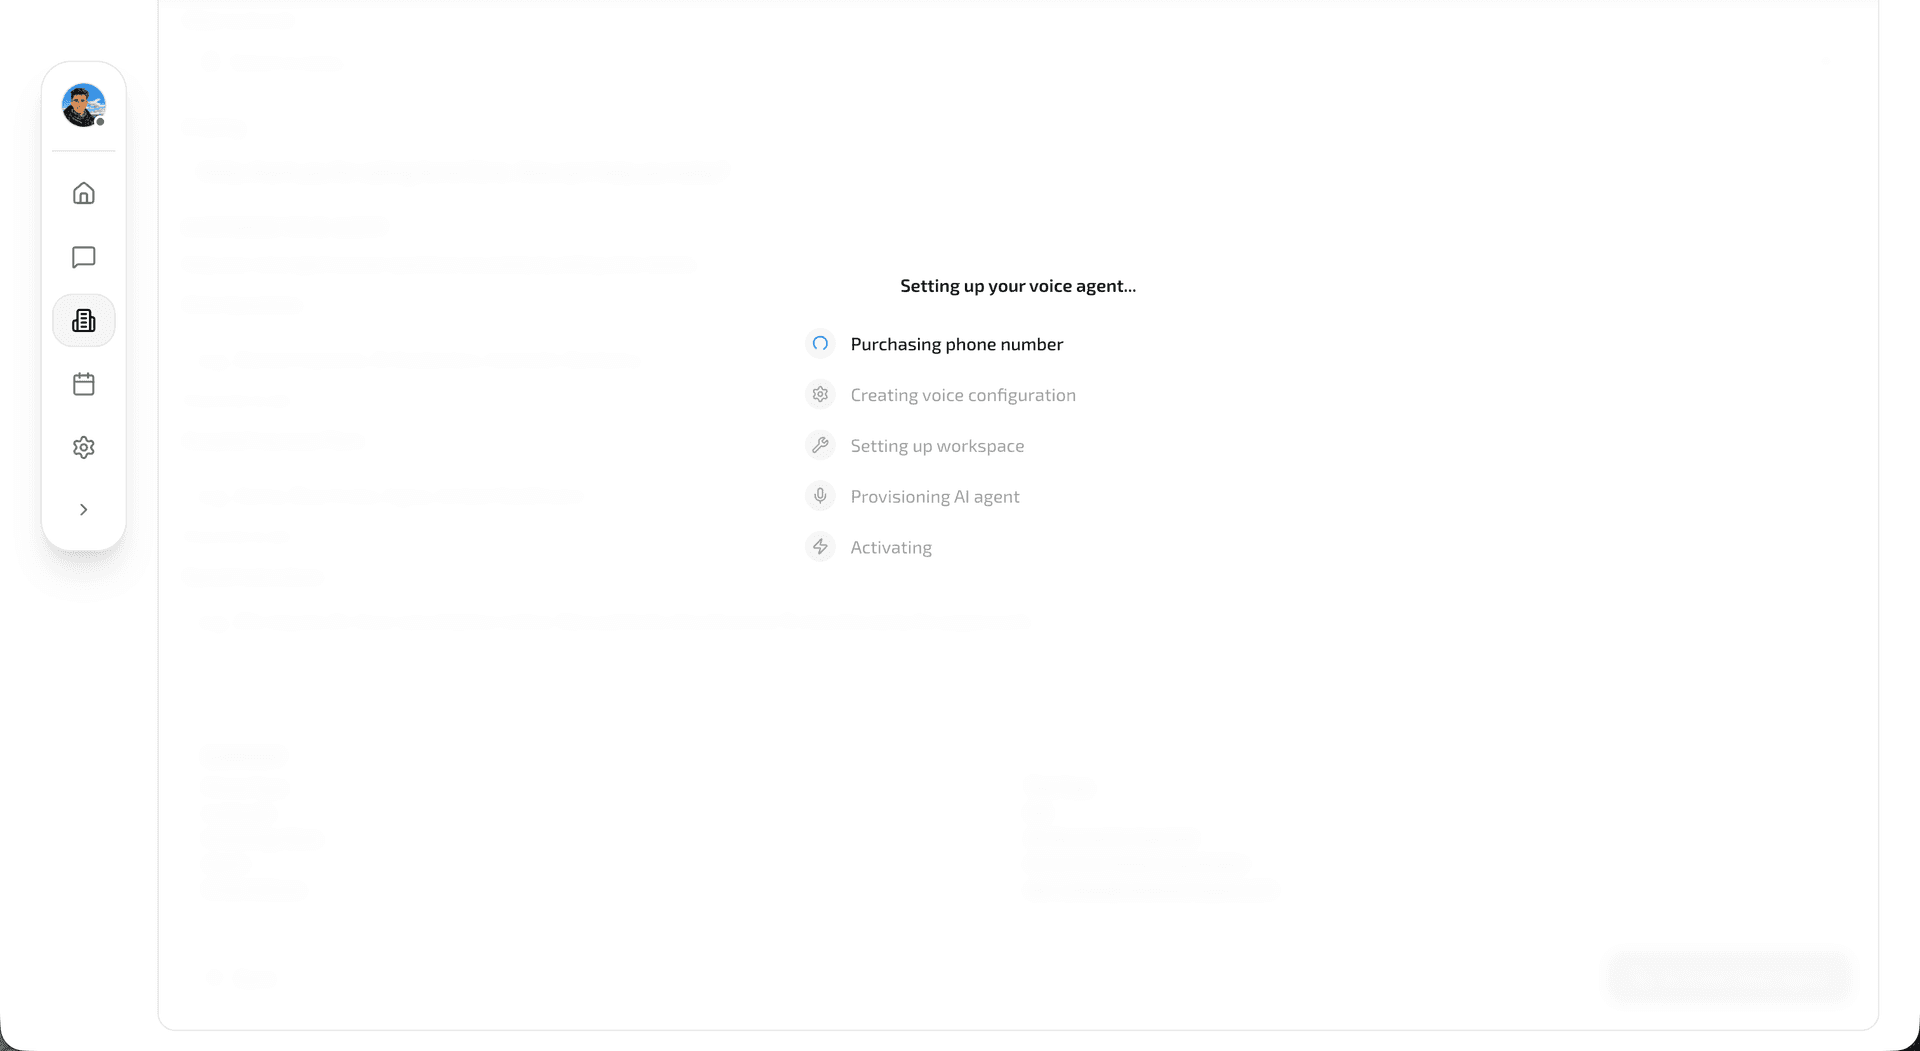
- Phone number purchase — The system acquires your chosen toll-free or local number automatically.
- Voice configuration — Your voice, greeting, and language settings are compiled into a voice profile.
- Workspace setup — A dedicated workspace is created for your clinic, connecting the voice agent to your knowledge base and CRM.
- Agent provisioning — Your AI voice agent goes live, ready to answer calls and route inquiries to your team.
The entire activation process takes just a few moments. Once complete, your new phone number is active and your AI patient coordinator is ready to take its first call.
Video Walkthrough
Watch the full setup process from start to finish:
Last updated on March 18, 2026